

Roolz
-
Posts
313 -
Joined
-
Last visited
Content Type
Profiles
Forums
Gallery
Events
Downloads
Everything posted by Roolz
-
Version 1
110 downloads
Official file. Conan - The scenario of the Frazetta Box expansion (january 2025). -
View File Scenario - Frazetta box Official file. Conan - The scenario of the Frazetta Box expansion (january 2025). Submitter Roolz Submitted 01/28/2025 Category Official scenarios
-
- 1
-

-
- official
- extensions
- (and 1 more)
-
Version 2.1
132 downloads
Official file. Conan - The 4 Stretch Goals scenarios of the 1st Conan KS (revised v2.1 january 2025). -
View File Scenarios - Stretch Goals KS1 Official file. Conan - The 4 Stretch Goals scenarios of the 1st Conan KS (revised v2.1 january 2025). Submitter Roolz Submitted 01/28/2025 Category Official scenarios
-
Yes, that's a new "OL versus OL" mode. It's the Versus expansion of the last KS, currently shipping.
-

Solo/Coop Rules & Scenario Book (Core-SG-King)
Roolz replied to Roolz's topic in Downloadable scenarios
IIRC, I just used an online pdf editor to remove the cover pages (to create an "interior" file), and to copy-paste-resize the cover pages (to create a "cover" file). It was fairly quick. -
Circular Strike has not changed. Please indicate where you saw that in the rules.
-
I believe you got at least 1 thing wrong. A-Victory conditions: If, at any point, there is only 1 Computer (token or miniature) remaining on the Map, the game ends and the Heroes win. They have destroyed the door-opening system and prevented the Villain from accessing the vault! Otherwise, the game ends after the Heroes’ turn in round 6: -THE VILLAIN WINS if there are 2 or more Computer miniatures on the Map. The door-opening system triggers, the Villain gains access to the vault and sends the formula to Lex Luthor. -THE HEROES WIN if there is 1 or fewer Computer miniatures on the Map. The door-opening system does not trigger and the Villain is unable to access the vault. So even if the villain succeeds in activating all computer tokens on turn 1 (and replacing them with minis), which is not easy (see below), the turn limit is 6. In all cases, the heroes have 6 turns to destroy the system (i.e. remove 3 computer tokens/minis with a complex thought Difficulty 4). B-Manipulation / Thought. Security guards do not have a Manipulation stat, they have a Thought stat. In this scenario, the only villain dudes that have Manipulation are Deathstroke (1 black die) and the Prisonners (1 white + 1 yellow rerollable). They need 2+4 = 6 cubes to be activated on turn 1 (so 4 cubes left). It's doable, but chances are the Villain won't be able to succeed all 4 manipulations Difficulty 3 without spending several extra cubes for paid rerolls. So he'll probably be "half-naked" for the next turn. And the positions of his dudes on the map will probably not be optimal.
-
Solo/Coop Rules & Scenario Book (Core-SG-King)
Roolz replied to Roolz's topic in Downloadable scenarios
I don't know, it depends on Monolith since it's an official file. That being said, I just had the French version pro-printed as softcover booklet and it looks great. There are not tons of pages (same as the core box Overlord booklet), so I'm not sure a hardcover would be "worth it". -
Version 1
520 downloads
Official file - Solo/Coop scenarios for Core box-Stretch Goals-King pledge (october 2024). - Digital Stretch Goal - -
View File Solo/Coop Rules & Scenario Book (Core-SG-King) Official file - Solo/Coop scenarios for Core box - Stretch Goals - King pledge (october 2024). Digital Stretch Goal. Submitter Roolz Submitted 10/24/2024 Category Official scenarios
-
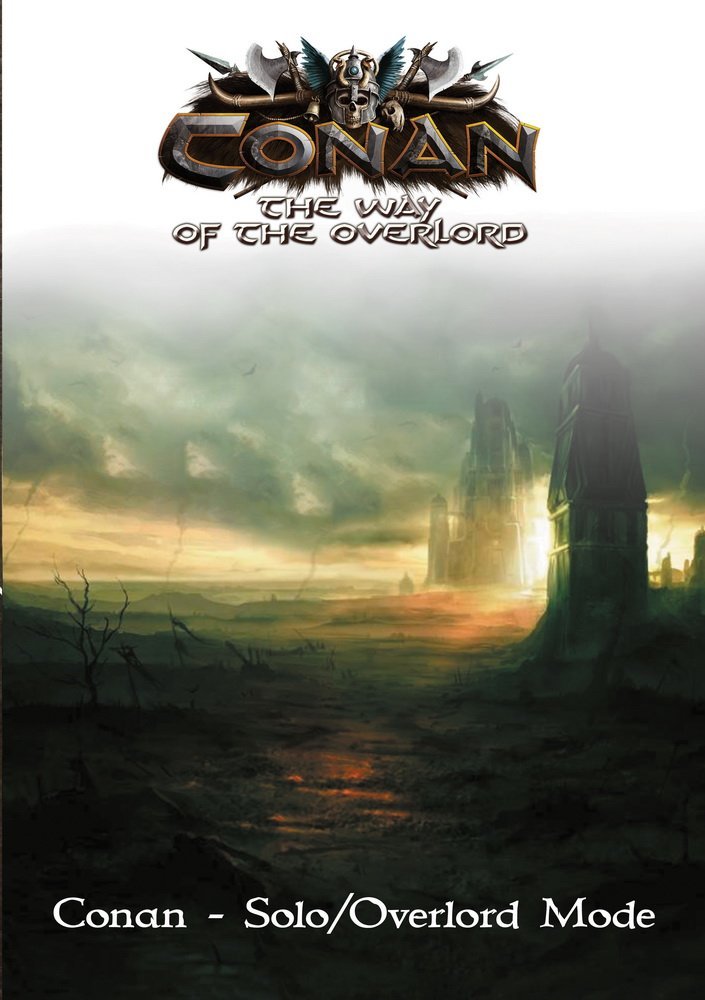
The Way of the Overlord (solo Overlord fan-made expansion)
Roolz replied to Roolz's topic in Downloadable scenarios
An expansion created by @Arzok, with a little help from yours truly and a few others, and @Renand for the layout. The keen eye will notice that the "additional proofreading" on the credits page is blank, so an additional check by an English native speaker is welcome. -
The Way of the Overlord “It was useless to call on Crom, because he was a gloomy, savage god, and he hated weaklings.” By what vile means did the wicked sorcerers and bloodthirsty warlords of the past so easily extend their sway over vast territories? This is the question that Publius, King Conan's high advisor, asked a handful of venerable scholars from the royal court. Shakily exploring the palace's forbidden archives, they unearthed half-moldy parchments and ancient, faded tablets, written in languages banned since eons past. They recorded their findings in a leather-bound booklet, which they placed in a box engraved with protective symbols, before handing it over to Publius. The latter was undecided. Should he give the box to the king, or keep it to himself to acquire the dark secrets it conceals? The Way of the Overlord is a fan-made expansion that enables you to play some of the Adventure mode scenarios solo, as an Overlord. Heroes are played automatically by a few simple rules very similar to the official Solo/Coop mode (Heroes against a non-player Overlord). This will allow you to discover the subtleties of the Overlord's play and gain a better understanding of its specifics. This booklet requires the Conan core box. Some scenarios require the Stygia and Khitai expansion boxes, the Barbarian Pledge stretch goal box, and the King Pledge. The Conqueror expansion box is optional. We are providing this expansion booklet in three formats: 1. Web: This is a single PDF file that you can use digitally. The images have been compressed. CONAN_THE_WAY_OF_THE_OVERLORD_EN_Web.pdf 2. Self-Print: This is a single PDF file that you can print at home or your local print shop. CONAN_THE_WAY_OF_THE_OVERLORD_EN_Self-print.pdf 3. Softcover (Magazine): This is two PDF files, one for the cover and the second for the interior content that you can send to a print-on-demand service for a stitched booklet. You'll find hereunder step-by-step instructions on how to use Lulu, if you choose them as your print-on-demand service. CONAN_THE_WAY_OF_THE_OVERLORD_EN_Lulu_Cover_Softcover.pdf CONAN_THE_WAY_OF_THE_OVERLORD_EN_Lulu_Interior.pdf Magazine Printing Instructions for Lulu Since this is a free, fan-made book, we are not morally or legally allowed to set up a print on demand distribution. Which means you will need to set up an account with a print on demand company and upload files for printing (for personal use only). The directions listed below are for the company Lulu, but you are free to use any print on demand company you choose. 1. Go to lulu.com and create an account. 2. Under the CREATE tab, click the MAGAZINES option. 3. Click the button START YOUR MAGAZINE. 4. Enter your login credentials (if you’re not already logged). 5. In the START YOUR PROJECT section, choose MAGAZINE. 6. In the SELECT YOUR GOAL section, choose PRINT YOUR MAGAZINE (DO NOT select Publish your Magazine. You will get sued 🙂 .) 7. In the MAGAZINE DETAILS section, enter a project title of your choice. We recommend “The Way of the Overlord”. Enter a LANGUAGE and a CATEGORY, which are required. We recommend “English” and “Games”. 8. Click the DESIGN YOUR PROJECT button at the bottom of the page to proceed to the Design page. 9. In the INTERIOR FILE UPLOAD section, upload the file named “CONAN_THE_WAY_OF_THE_OVERLORD_EN_Lulu_Interior.pdf” 10. Wait for the file to upload and normalize. This can take a few minutes. Be patient and get yourself a cold beverage. 11. When the upload finishes, you will see some warnings. Like most warnings in life, feel free to ignore these. 12. In the BOOK SPECIFICATIONS section, the BOOK SIZE AND PAGE COUNT should already be pre-filled. 13. In the INTERIOR COLOR section, choose PREMIUM COLOR. 14. In the PAPER TYPE section, select 70# COATED WHITE (there’s no other choice). 15. In the BINDING TYPE section, select PAPERBACK SADDLED STITCH (there’s no other choice). 16. In the COVER FINISH section, choose GLOSSY or MATTE, your choice. 17. Wait a moment for the PRINT COST to load. This is a printing fee for Lulu, and we do not receive a penny of this, nor does Monolith. 18. In the MAGAZINE COVER DESIGN section, make sure the UPLOAD YOUR COVER option is selected. 19. Upload the file named “CONAN_THE_WAY_OF_THE_OVERLORD_EN_Lulu_Cover_Softcover.pdf” 20. After a minute, the PREVIEW will load. This preview will give you a basic idea of what the booklet will be like, but it is just a preview and not super-high quality. 21. When you are ready, click the REVIEW MAGAZINE link at the bottom. 22. This brings you to a page where you can review the final specifications. Click CONFIRM AND PUBLISH. 23. Click the ADD TO CART button when it becomes enabled. 24. Click the CHECKOUT button and make the purchase. The shipping will vary depending where you are located (also keep an eye out for discount codes on the home page.) Feel free to print a copy for yourself or your friends, but DO NOT PRINT COPIES FOR SALE. Note: The softcover magazine you receive from Lulu will not be perfect. There might be alignment issues with the binding, scratches, the interior margins might be tight, etc. That being said, it will still kick ass!

-
No official way. There's a fan-made Solo/Coop mode draft/WIP on the French side there: https://the-overlord.com/index.php?/topic/4826-mode-solocoop-dante-20/ It looks good but unfortunately I never found time to play/test it. So if you're willing to translate it, just give it a go. The linked zip contains several files but only one (16-page pdf in the root folder) is necessary.
-
Version 1.0.0
211 downloads
Official Monolith file. Stretch Goals Missions Season 3 - "digital scenarios" (july 2024) -
Batman: Gotham City Chronicles - Stretch Goals Missions (Season 3) View File Official Monolith file. Stretch Goals Missions Season 3 - "digital scenarios" (july 2024) Submitter Roolz Submitted 09/10/2024 Category Official scenarios
-
Version 1.0.0
439 downloads
Official Monolith file (june 2024) -
Batman: Gotham City Chronicles - Solo/Coop Rules & Scenarios Booklet View File Official Monolith file (june 2024) Submitter Roolz Submitted 09/10/2024 Category Rules
-
Basically if a dude can reach/attack the Target Hero, he will do it.
-
Menu -> Games -> Conan -> The companion
-
I’d say adding the values is the most logical.
-
I believe it's a mistake. It's the same in the FR version. I think there should be only 5 blue pirates but I can't tell how they're supposed to be distributed in the areas. I'd try by putting 3 in the area with the chest and only 2 in the other (instead of 4).
-
If you have any questions about rules regarding the Docks and/or Warehouse map, ask them here.
-
If you have any questions about rules regarding the Zeppelin map (upper & lower level), ask them here.
-

Version 2.0
602 downloads
Official Monolith file V2.0. (june 2024)